Creating macOS Menu Bar App in SwiftUI
Creating a menu bar app may seems like a complicated task, but with SwiftUI, it can be done in a few simple steps. In this post, we will create a basic macOS menu bar app using SwiftUI.
The app will display a menu bar icon and a simple menu with a few options. We will also add functionality to show a popover when the icon is clicked.
Setting up the Project
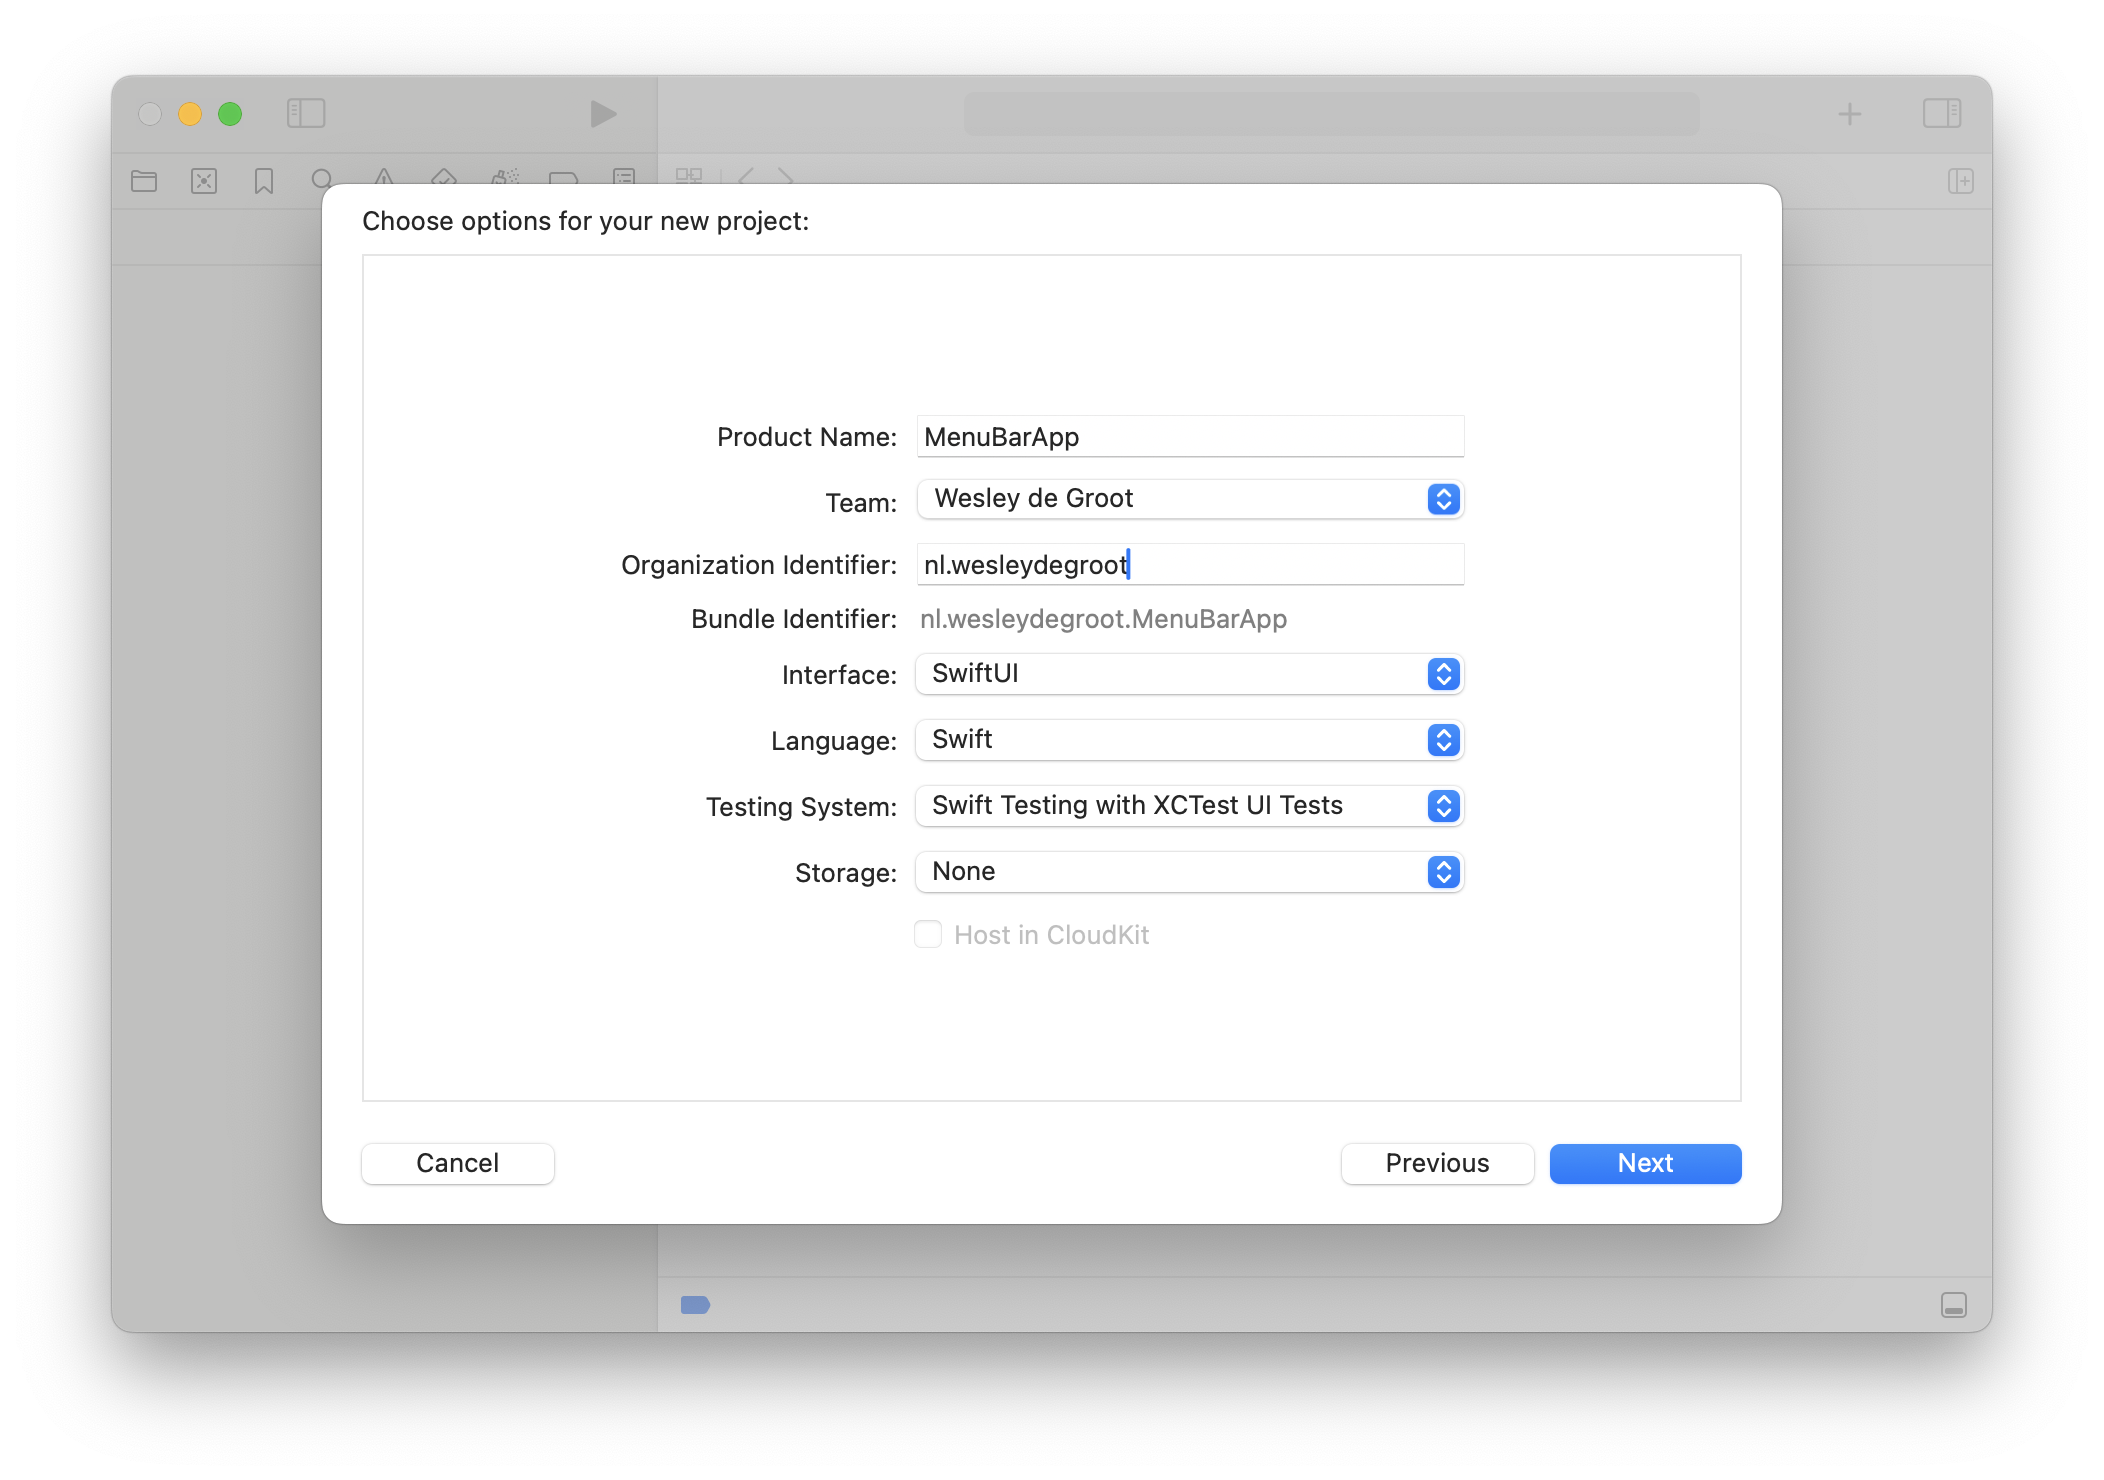
Create a new macOS project in Xcode and select "App" as the template. Make sure to select SwiftUI as the interface and Swift as the language.
Creating the Menu Bar App
Your MenuBarApp.swift file will look like this:
import SwiftUI

@main
struct MenuBarAppApp: App {
    var body: some Scene {
        WindowGroup {
            ContentView()
        }
    }
}
To support the menu bar, we need to make a slight change in this file.
@main
struct MenuBarAppApp: App {
    var body: some Scene {
        MenuBarExtra {
            ContentView()
        } label: {
            Image(systemName: "star")
        }
        .menuBarExtraStyle(.window) // We use this to make the menu bar icon look like a window
    }
}
Creating the ContentView
Now, let's create a simple ContentView that will be displayed when the menu bar icon is clicked. Create a new SwiftUI view file named ContentView.swift and add the following code:
import SwiftUI

struct ContentView: View {
    var body: some View {
        VStack {
            Image(systemName: "globe")
                .imageScale(.large)
                .foregroundStyle(.tint)
            Text("Hello, world!")
        }
        .padding()
    }
}
This code creates a simple view with a text label and a button. When the button is clicked, it prints a message to the console.
Running the App
Now, you can run the app in Xcode.
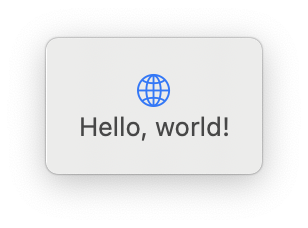
You should see a menu bar icon appear in the top right corner of your screen.

When you click the icon, a popover with the text "Hello, World!" will appear.
Hiding the Dock Icon
By default, the app will also show an icon in the dock.
![]()
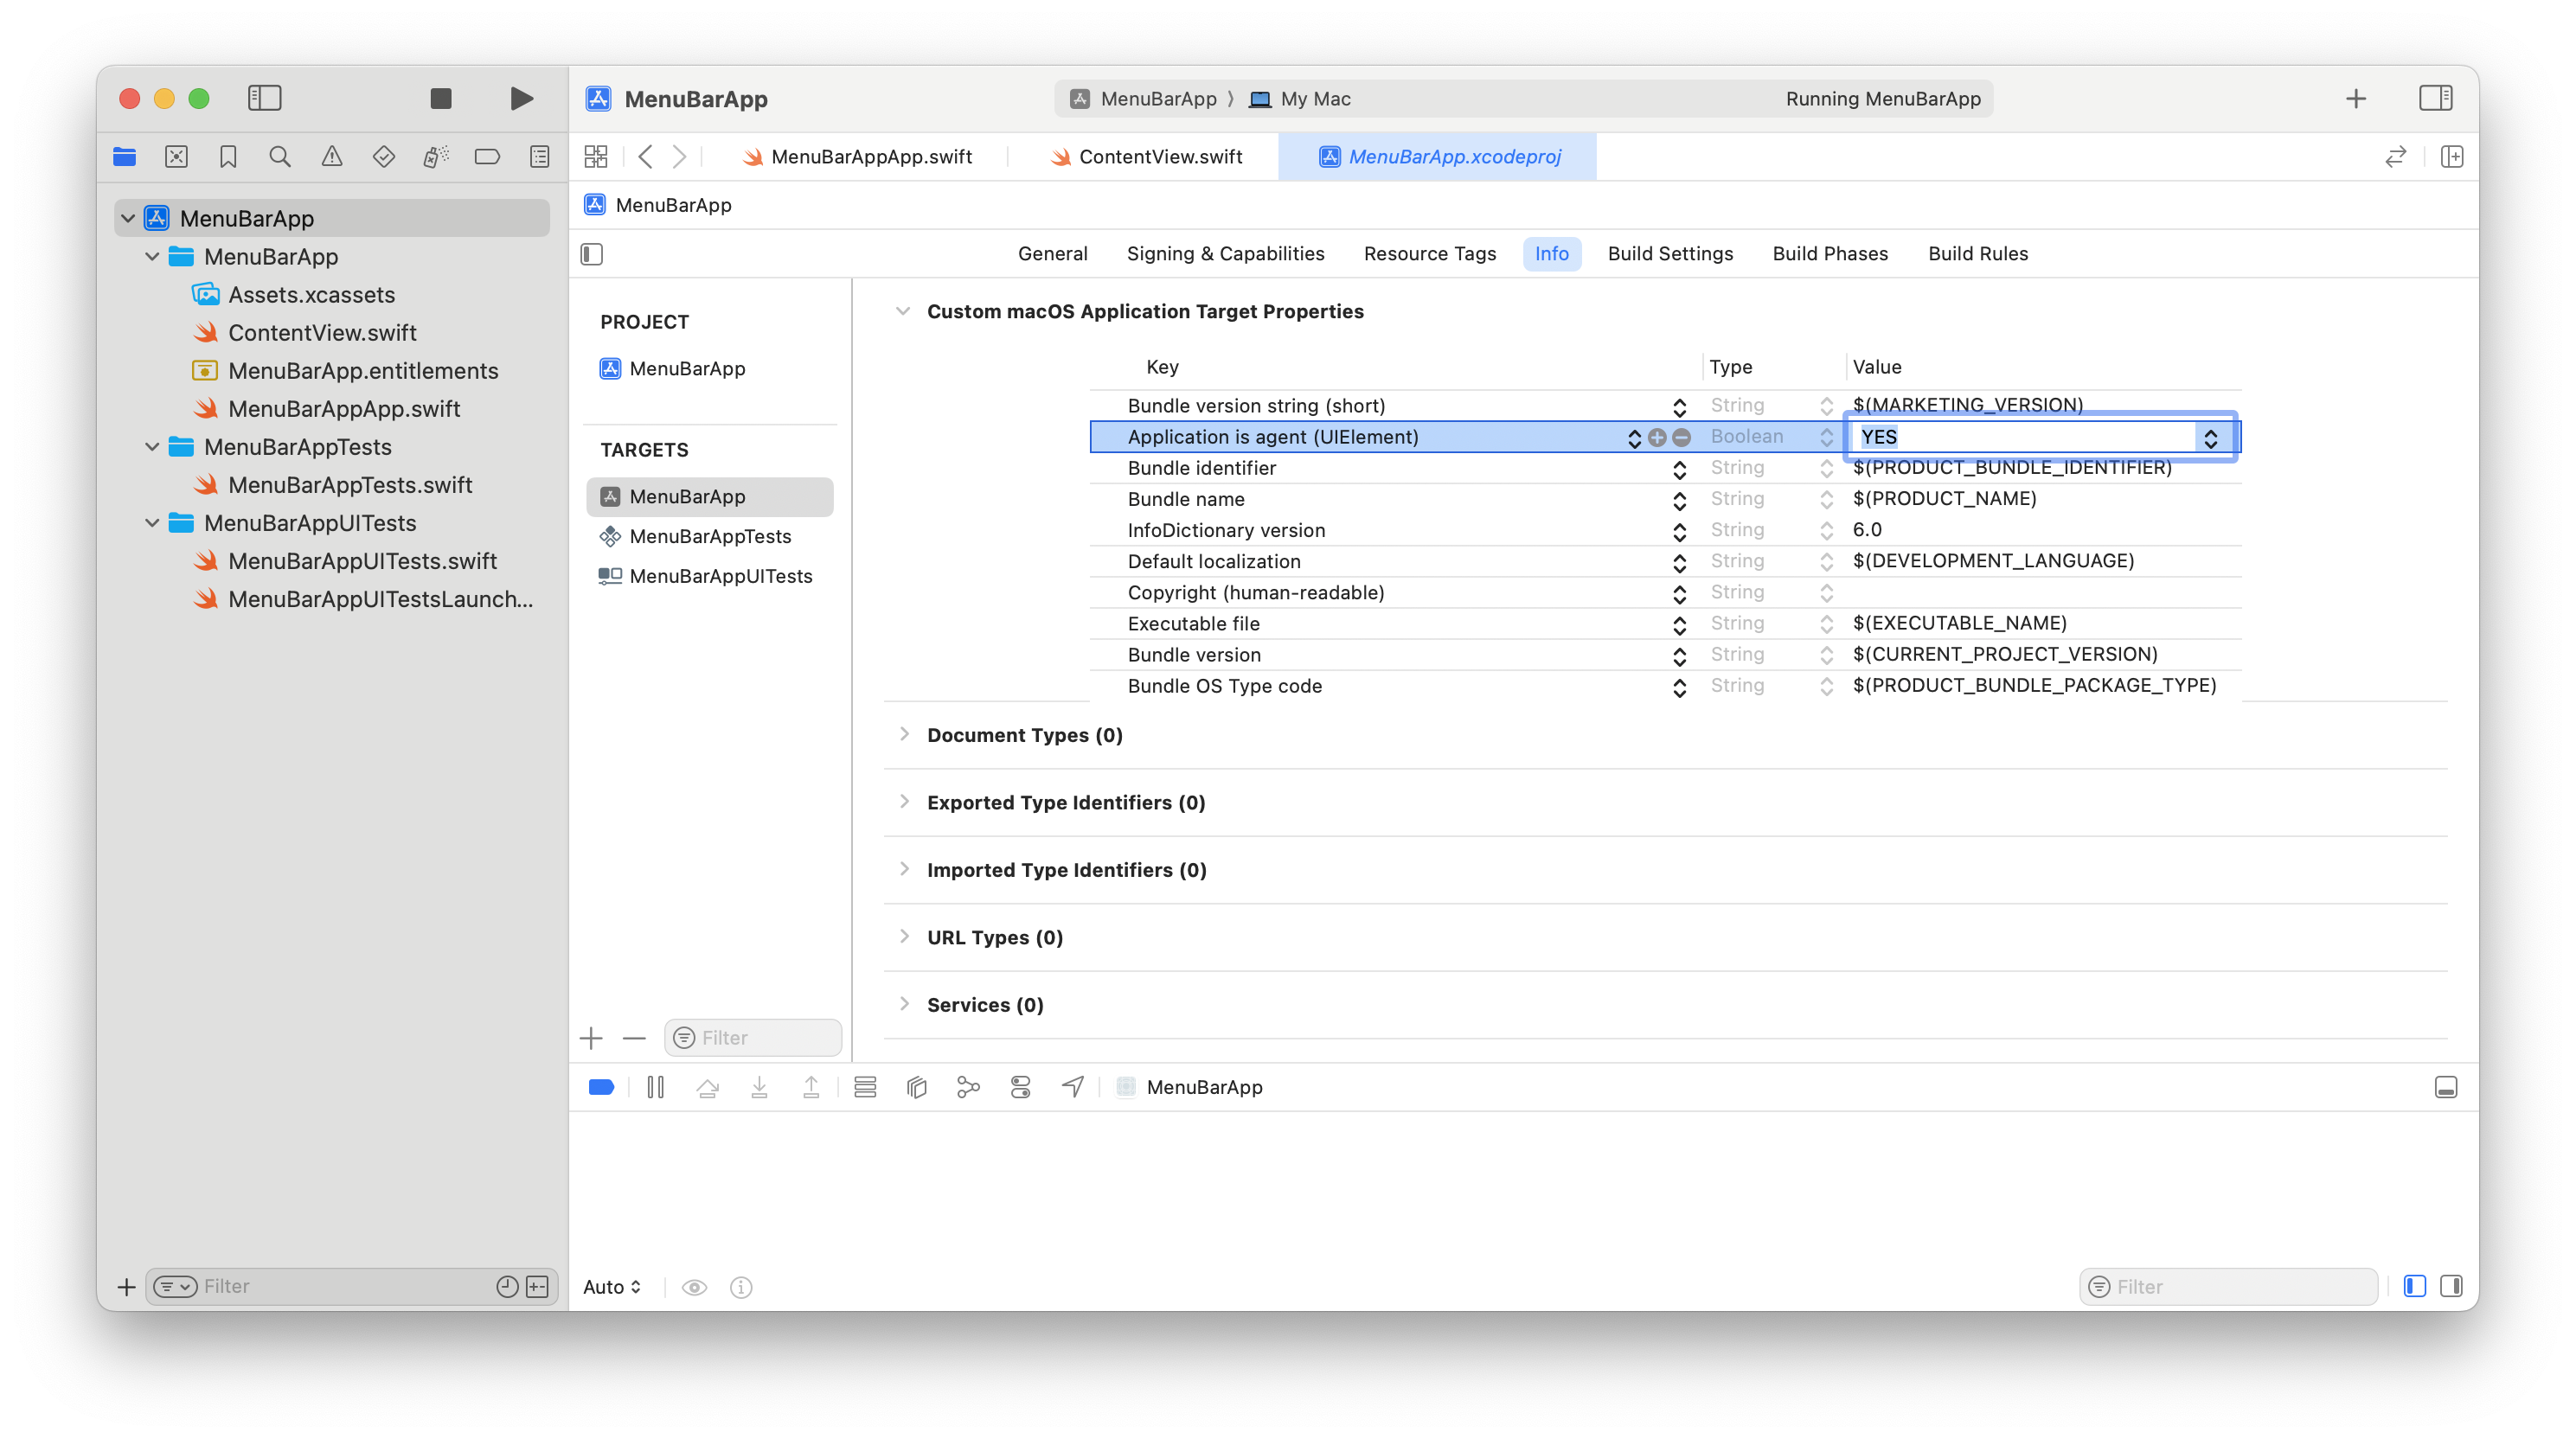
To hide the dock icon, you need to modify the Info.plist file.
Navigate to your Project, click on the Target, and select the Info tab, then add a new entry with the key Application is agent (UIElement) and set its value to YES.
This will hide the app from the dock and make it a menu bar app.
Conclusion
Creating a macOS menu bar app using SwiftUI is a easy process, it allows you to create a simple and functional app with minimal code.
I hope this post helps you get started with creating your own macOS menu bar app using SwiftUI.
Let me know in the comments which menu bar apps you've created or if you have any questions!
References
Read more
- Subscripts in Swift • 2 minutes reading time.
- Default values for UserDefaults • 2 minutes reading time.
- Building iWebTools • 11 minutes reading time.
Share
Share Bluesky Mastodon Twitter LinkedIn Facebook